
How to Set Up and Use a Digital Wallet Easily

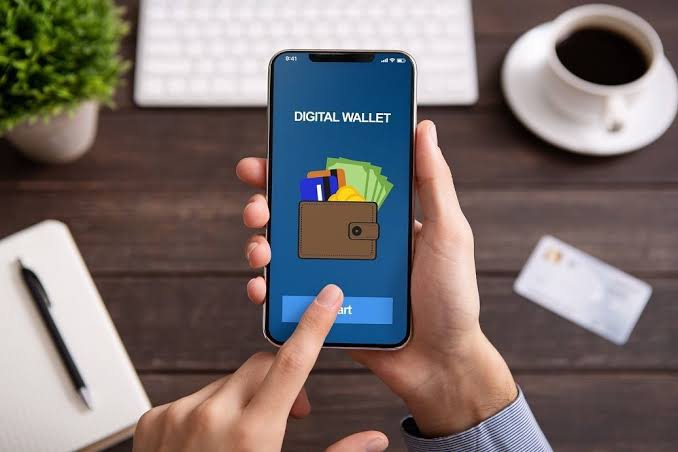
The days of fumbling through a bulky leather wallet to find the right credit card, loyalty card, or loose change are quickly coming to an end. Digital wallets have transformed from a futuristic tech trend into an everyday essential. Whether you want to pay for groceries with a tap of your phone, keep your airline boarding passes in one place, or securely store concert tickets, a digital wallet makes life remarkably simpler.
If you have been hesitant to make the switch due to security concerns or tech confusion, this guide is for you. Setting up and using a digital wallet is incredibly straightforward, highly secure, and takes less than five minutes.
What is a Digital Wallet?
A digital wallet (or e-wallet) is a financial application that securely stores your payment information, identity cards, tickets, and passes on an electronic device—usually your smartphone or smartwatch.
Instead of physical plastic, a digital wallet uses advanced software to communicate with payment terminals. The most common technology used is NFC (Near Field Communication), which allows two devices to talk to each other when they are placed close together (usually within a few centimeters).
The Big Three: Which One is Right for You?
Most smartphones come with a built-in digital wallet tailored to their operating system:
- Apple Wallet: Built natively into iPhones and Apple Watches. It utilizes Apple Pay for transactions.
- Google Wallet: The default wallet for Android devices, utilizing Google Pay.
- Samsung Wallet: Exclusive to Samsung Galaxy devices, combining payment features with Samsung Pass.
Step-by-Step: How to Set Up Your Digital Wallet
Setting up your wallet is a one-time process. Because the steps are highly sequential and skipping a security verification will prevent the wallet from working, follow this order carefully:
1.Ensure Device Security:Prerequisite.
Before adding any financial data, you must lock your phone with a secure method. Set up Biometrics (Face ID, Touch ID, or fingerprint scanning) or a strong PIN/Passcode. Digital wallets will not function without device lock enabled.
2.Open the App:Step 1.
Locate the native wallet app on your device (Apple Wallet on iOS, Google Wallet on Android). If you are using a third-party wallet or deleted the native app, download it safely from the official Apple App Store or Google Play Store.
3.Add a Payment Card:Step 2.
Tap the "+" or "Add to Wallet" icon. Select "Debit or Credit Card." You can use your phone’s camera to automatically scan the front of the card, or type the card number, expiration date, and CVV security code manually.
4.Accept Terms and Verify:Step 3.
Review and accept your bank’s terms of service. Your bank will then require identity verification. Choose to receive a verification code via SMS text message or email, or call your bank directly. Enter the code in the app to activate the card.
Once verified, your card is ready for immediate use. You can repeat this process to add multiple credit cards, debit cards, and even store loyalty rewards cards.
How to Use Your Digital Wallet in the Real World
Using a digital wallet is often much faster than pulling out a traditional card. Here is how to handle different everyday scenarios.
1. In-Store Payments (Point of Sale)
Look for the contactless payment symbol at the checkout terminal—it looks like a hand holding a card next to four radiating waves.
- Wake your phone: You do not even need to open the app. On an iPhone, double-click the side power button. On an Android phone, simply wake or unlock the screen.
- Authenticate: Authenticate using Face ID, Touch ID, or your PIN.
- Tap and hold: Hold the top of your phone near the contactless reader. A checkmark, a subtle vibration, or a soft beep will confirm the transaction is complete.
2. Online and In-App Purchases
When shopping on websites or apps via your phone, look for buttons that say "Buy with Apple Pay" or "Google Pay."
Clicking these eliminates the need to manually type your 16-digit card number, billing address, and shipping details. The app securely passes your pre-saved shipping info and processes the payment instantly with a quick biometric scan.
3. Storing Digital Passes and Tickets
Digital wallets do much more than hold money. When you buy a movie ticket, airline flight, or concert pass, look for an "Add to Apple Wallet" or "Add to Google Wallet" badge in your confirmation email or airline app. Tapping this saves a digital barcode or QR code directly to your wallet, which works even if you lose internet connection at the venue or airport gate.
Addressing the Big Question: Are Digital Wallets Safe?
It is entirely natural to wonder if putting all your financial data on a single smartphone is safe. Ironically, digital wallets are significantly more secure than physical plastic cards.
Here is why:
Tokenization: Digital wallets do not store or transmit your actual credit card number. Instead, they replace it with a unique, randomized number called a "token." When you make a purchase, the merchant only receives this temporary token. Even if a store suffers a data breach, your real card information remains completely invisible.
Furthermore, if someone steals your physical leather wallet, they can immediately use your credit cards until you call the bank. If someone steals your smartphone, they cannot access your digital wallet without your unique fingerprint, face scan, or passcode.
What if You Lose Your Phone?
If your phone goes missing, you do not need to panic or cancel your physical credit cards. You can use Apple's "Find My" network or Google's "Find My Device" website from any computer to instantly lock your device or remotely wipe all data, including your digital wallet tokens.
Summary of Benefits
| Feature | Physical Wallet | Digital Wallet |
| Speed | Slow (searching, inserting, entering PIN) | Instant (one tap) |
| Data Protection | Vulnerable (skimming, numbers visible) | High (Tokenization hides real details) |
| Loss Recovery | High risk (must cancel all physical cards) | Low risk (remote wipe via cloud) |
| Capacity | Limited by physical pocket size | Virtually unlimited cards and passes |
Quick Tips for a Smooth Experience
- Set a Default Card: If you add multiple cards, go into your wallet settings and select your primary card as the "default." This ensures it is always the first card that pops up when you pay.
- Keep a Backup: While digital wallets are widely accepted globally, a small number of independent retailers or older terminals still require physical cards. It is always wise to keep one backup physical card or some cash in your pocket just in case.
- Watch Your Battery: Your digital wallet relies on your device being powered on. Keep an eye on your battery life when relying entirely on your phone for transit passes or event tickets.
Setting up a digital wallet removes friction from your daily routine while adding a heavy layer of security to your hard-earned money. Take five minutes today to set it up, and enjoy the lightweight freedom of a clutter-free pocket.
Related